Introduction
Replacing your MacBook Air’s old hard drive with a SATA 3 SSD can significantly boost its performance. To ensure optimum functionality, the SSD must be properly formatted and installed. This guide will walk you through each step, making the process straightforward and stress-free. You’ll learn about the compatibility of SATA 3 SSDs with your MacBook Air, how to prepare for the installation, the physical installation process, and the formatting procedure. Finally, we will also cover how to restore your data and install macOS.
Understanding SATA 3 SSDs and Compatibility
SATA 3 (Serial ATA III) SSDs are known for their high speed and reliability. They offer superior data transfer rates of up to 6 Gbps, making them an excellent choice for enhancing your MacBook Air’s performance. However, it’s crucial to ensure compatibility before proceeding.
The first step is to verify that your MacBook Air supports SATA 3 SSDs. Most models released after 2010 are compatible. To confirm this, check your MacBook Air’s model and specifications by clicking on the Apple logo at the top left corner, then ‘About This Mac.’ Next, research your specific model to see the supported storage interfaces.

Preparing Your MacBook Air for SSD Installation
Before diving into the installation, preparation is key. Follow these steps to get your MacBook Air ready:
- Backup Your Data: Use Time Machine or another preferred method to ensure that all your important data is backed up. This step is essential as installing a new SSD will erase all existing data.
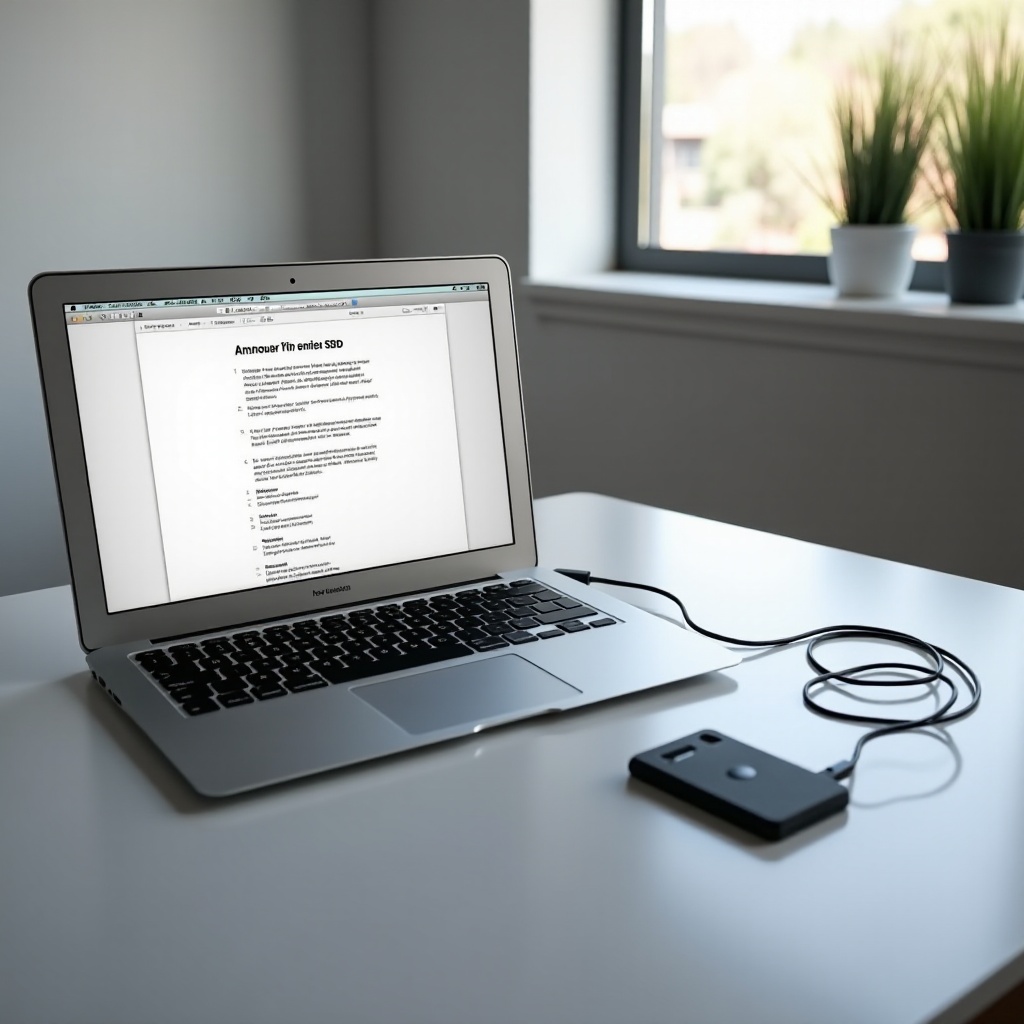
- Gather Necessary Tools: You will need a screwdriver set, an antistatic wrist strap to prevent static damage, and a SATA-to-USB adapter if you plan to clone your existing drive.
- Power Down and Disconnect: Shut down your MacBook Air completely and disconnect any connected peripherals and power adapter.
By following these preparatory steps, you will make the installation process smoother and reduce the risk of data loss.
Physically Installing the SATA 3 SSD
Physical installation of the SSD is the next step. Here is how to do it:
- Remove the Bottom Case: Use a screwdriver to remove the screws securing the bottom case of your MacBook Air. Carefully lift off the case and set it aside.
- Detach the Battery Connector: To avoid electrical damage, it’s important to disconnect the battery. Locate the battery connector and gently detach it.
- Extract the Existing Drive: Locate the existing hard drive or SSD. Unscrew it and disconnect any cables. Carefully slide it out of its slot.
- Install the New SATA 3 SSD: Align the new SSD with the connector and slide it into place. Secure it with screws if necessary.
- Reconnect the Battery and Bottom Case: Reattach the battery connector, then reposition and screw back the bottom case.
After completing these steps, your new SATA 3 SSD will be physically installed, ready for formatting.
Formatting the SATA 3 SSD
With the new SSD physically installed, the next step is formatting it so that the macOS can recognize and use it.
Booting into macOS Recovery Mode
- Turn On Your MacBook Air: Immediately press and hold the ‘Command (⌘) + R’ keys until the Apple logo appears. This will boot your Mac into Recovery Mode.
- Select Disk Utility: Once in Recovery Mode, click ‘Disk Utility’ and then ‘Continue.
Using Disk Utility to Format the SSD
- Select the New SSD: In Disk Utility, you should see the newly installed SSD in the list of available drives. Select it.
- Click Erase: Click on the ‘Erase’ button at the top of the window.
- Enter Details: In the dialog that appears, enter a name for your SSD.
Choosing the Right File System Format
- Format Type: Choose ‘Mac OS Extended (Journaled)’ if you’re running macOS Sierra or older versions. For macOS High Sierra and newer, select ‘APFS (Apple File System).
- Scheme: Ensure that the scheme is set to ‘GUID Partition Map.
- Erase and Format: Click ‘Erase’ again to format the SSD. After formatting, click ‘Done.

Restoring Your Data and Installing macOS
Formatting the SSD is done, and now it’s time to restore your macOS and recover your data.
Setting Up macOS on the New SSD
- Install macOS: Still in Recovery Mode, select ‘Reinstall macOS’ and click ‘Continue.’ Follow the on-screen instructions to install a fresh copy of macOS on your new SSD.
- Complete Setup: Once the installation is complete, your MacBook Air will restart. Follow the prompts to set up your macOS system.
Restoring from Time Machine Backup
- Connect Backup Drive: Attach the external drive containing your Time Machine backup.
- Using Migration Assistant: Open Migration Assistant from the Utilities folder (Applications > Utilities). Follow the instructions to transfer your data, apps, and settings from your Time Machine backup to the new SSD.
Conclusion
Properly installing and formatting a SATA 3 SSD in your MacBook Air can significantly enhance its performance and longevity. By following these steps—preparing your laptop, performing the physical installation, formatting the drive, and restoring your data—you will achieve a smooth transition to better storage. This upgrade will not only boost your MacBook’s speed and efficiency but also extend its usable life.
FAQs
Can I use any SATA 3 SSD with my MacBook Air?
Not all SATA 3 SSDs are compatible with every MacBook Air model. Ensure that the SSD you choose is supported by your specific MacBook Air model. You can confirm this by checking your MacBook Air’s specifications and the SSD’s compatibility.
What file system should I use to format my SSD?
Select ‘APFS (Apple File System)’ for macOS High Sierra and newer versions. For older versions such as macOS Sierra and below, ‘Mac OS Extended (Journaled)’ is recommended to ensure compatibility.
How do I check if my SSD is functioning properly after installation?
After installation, you can use Disk Utility’s ‘First Aid’ feature to check the health of your new SSD. Run ‘First Aid’ and follow any recommended actions to ensure your SSD is operating correctly.
This guide should equip you with all the important steps and information on how to format a SATA 3 SSD for your MacBook Air successfully. Proper formatting and installation will ensure your MacBook runs optimally with the new SSD.
Frequently Asked Questions
Can I use any SATA 3 SSD with my MacBook Air?
Not all SATA 3 SSDs are compatible with every MacBook Air model. Ensure that the SSD you choose is supported by your specific MacBook Air model. You can confirm this by checking your MacBook Air’s specifications and the SSD’s compatibility.
What file system should I use to format my SSD?
Select ‘APFS (Apple File System)’ for macOS High Sierra and newer versions. For older versions such as macOS Sierra and below, ‘Mac OS Extended (Journaled)’ is recommended to ensure compatibility.
How do I check if my SSD is functioning properly after installation?
After installation, you can use Disk Utility’s ‘First Aid’ feature to check the health of your new SSD. Run ‘First Aid’ and follow any recommended actions to ensure your SSD is operating correctly.