Introduction
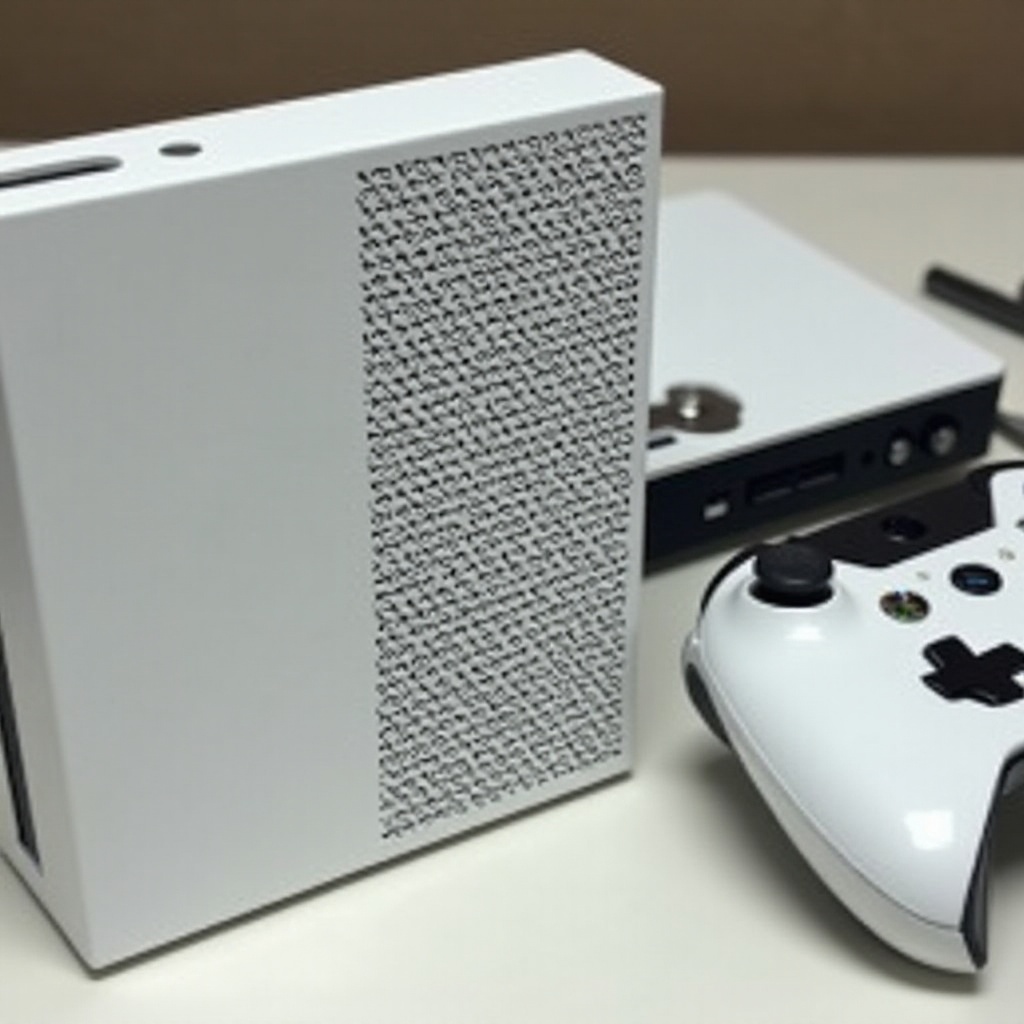
The Xbox Series S stands as a brilliant example of modern gaming technology. While its compact design is a feat of engineering, accessing its internals can be daunting for the uninitiated. Whether you’re prepping your console for cleaning, undertaking minor repairs, or merely curious about its workings, understanding the correct method to open your console is vital. This step-by-step guide will lead you through the process, ensuring you keep your console in pristine condition and sidestep any accidental damages.

Safety Precautions and Necessary Tools
Before diving into the disassembly process, it’s imperative to emphasize the importance of safety and the right tools for the task. Handling your Xbox Series S with care is crucial to preserving its functionality:
- Power Down: First and foremost, ensure the console is completely turned off and unplugged from any power source.
- Identify Workspace: Set up your workspace on a flat, clean surface to prevent potential damage to the console components.
- Use Anti-static Measures: Protecting your console components from static electricity is essential. Wearing an anti-static wrist strap will safeguard against static damage.
Essential Tools You Will Need:
– T8/T10 Torx screwdriver
– Plastic prying tool
– Soft brush or microfiber cloth
These tools will facilitate a smooth and effective disassembly process.
Preparing Your Xbox Series S for Disassembly
Preparation is crucial for successful disassembly. Start by backing up any critical data; while the risk is minimal, caution pays off. Unplug your console and position it on your workspace, ensuring a dust-free environment. This mitigates the risk of dust particles interfering with the console’s internal functionality.
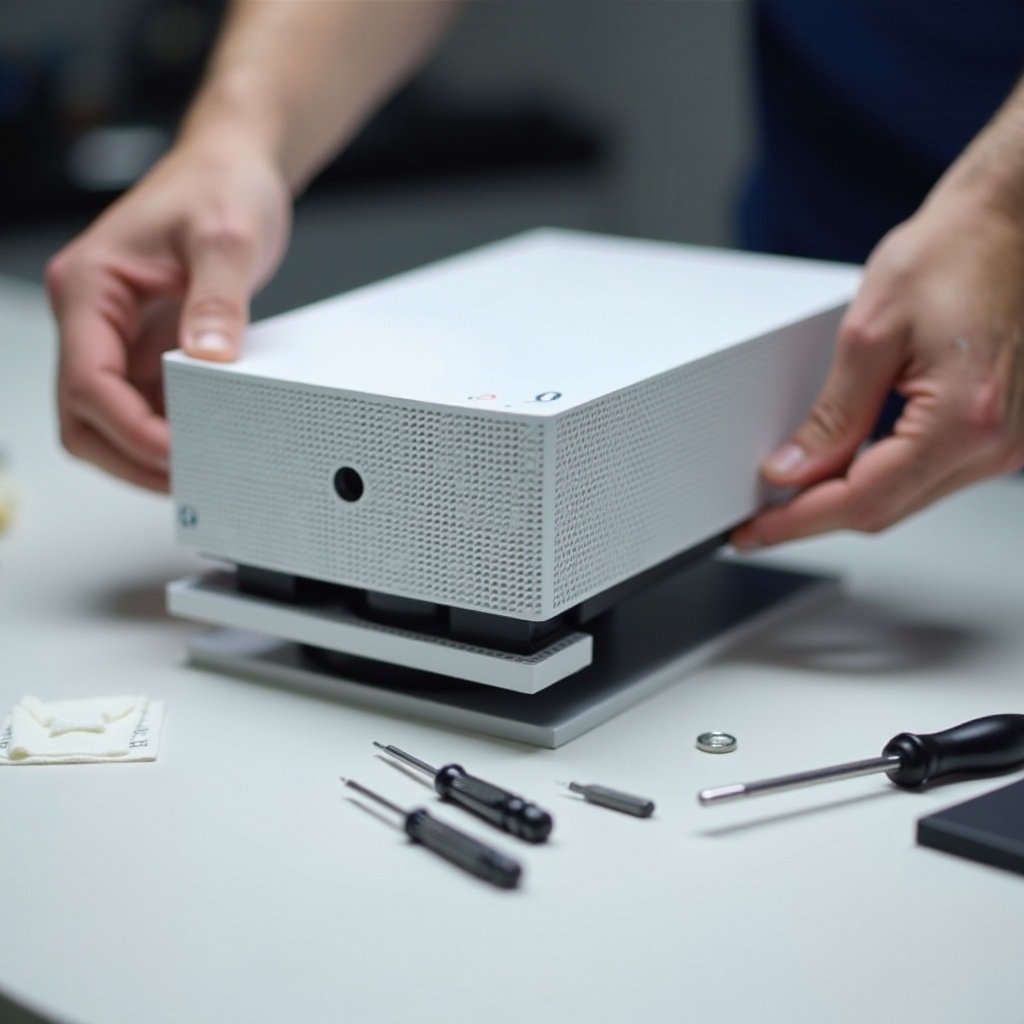
Step-by-Step Guide to Opening Your Xbox Series S
-
Remove the Bottom Stand: With the T8 Torx screwdriver, carefully unscrew and detach the stand, ensuring the screws are stored safely for later reassembly.
-
Detach the Outer Shell: Utilize the plastic prying tool to carefully separate the outer shell. Inserting the tool into the seam and gently pushing will release the securing clips. Proceed patiently to prevent any damage to the shell.
-
Access the Internal Components: With the outer shell off, internal components are within reach. Remove screws using the T10 Torx screwdriver, paying close attention to the placement of each part for the reassembly process.
Navigating the Internal Layout
Inside the Xbox Series S, understanding the internal layout is beneficial. Familiarity with the motherboard’s location, the optical drive, and cooling fan is imperative. Awareness here aids in avoiding inadvertent damage.
Cleaning and Maintenance Tips
Once open, seize the opportunity for cleaning and maintenance. Dust accumulation can lead to overheating and diminished performance, making regular cleaning beneficial.
Effective Cleaning Techniques:
– Surface Dust Removal: A soft brush or microfiber cloth works wonders in removing surface dust.
– Fans and Heat Sinks: Use a brush carefully to rid fans and heat sinks of dust, as accumulation here can impact performance significantly.
Inspecting for Wear and Tear
- Check Connectors and Cables: Inspect all connectors and ensure cables are tightly secured and in good condition.
- Evaluate Components: Identify any visible wear or damaged components. Replace them if necessary or consult a professional.
Reassembling the Xbox Series S
After thorough cleaning and inspection, it is time to reassemble your Xbox Series S:
-
Reinstall Internal Components: Securely fasten the screws on the motherboard and other critical parts.
-
Reattach the Outer Shell: Align the casing with the shell and press gently to reengage the clips, ensuring a snug fit.
-
Reinstall the Bottom Stand: Finally, re-secure the stand using your T8 Torx screwdriver, ensuring everything is tightened adequately.
Your Xbox Series S is now ready for action!
Conclusion
Disassembling your Xbox Series S can seem complicated, but with the right guidance, it is manageable and safe. This guide ensures you’re equipped with the knowledge to open your console without hazards, allowing for necessary cleaning and maintenance. Through these steps, you prolong your console’s lifespan and enhance your gaming pleasure.
Frequently Asked Questions
Does opening my Xbox Series S void the warranty?
Opening your Xbox Series S can void the manufacturer’s warranty, so consult the warranty terms before proceeding.
What should I do if I can’t reassemble the console properly?
If reassembly is challenging, consider seeking professional help to avoid further issues.
How often should I clean the inside of my Xbox Series S?
Clean your Xbox Series S every few months, based on usage, to maintain optimal performance.