Introduction
Mastering the art of disassembling your Xbox One controller opens up new possibilities for maintenance, repair, and customization. Whether you’re dealing with sticky buttons or you want to modify your controller, understanding how to take it apart safely is crucial. In this comprehensive guide, we provide step-by-step instructions to ensure you accomplish this task without any hiccups.
Tools and Preparation
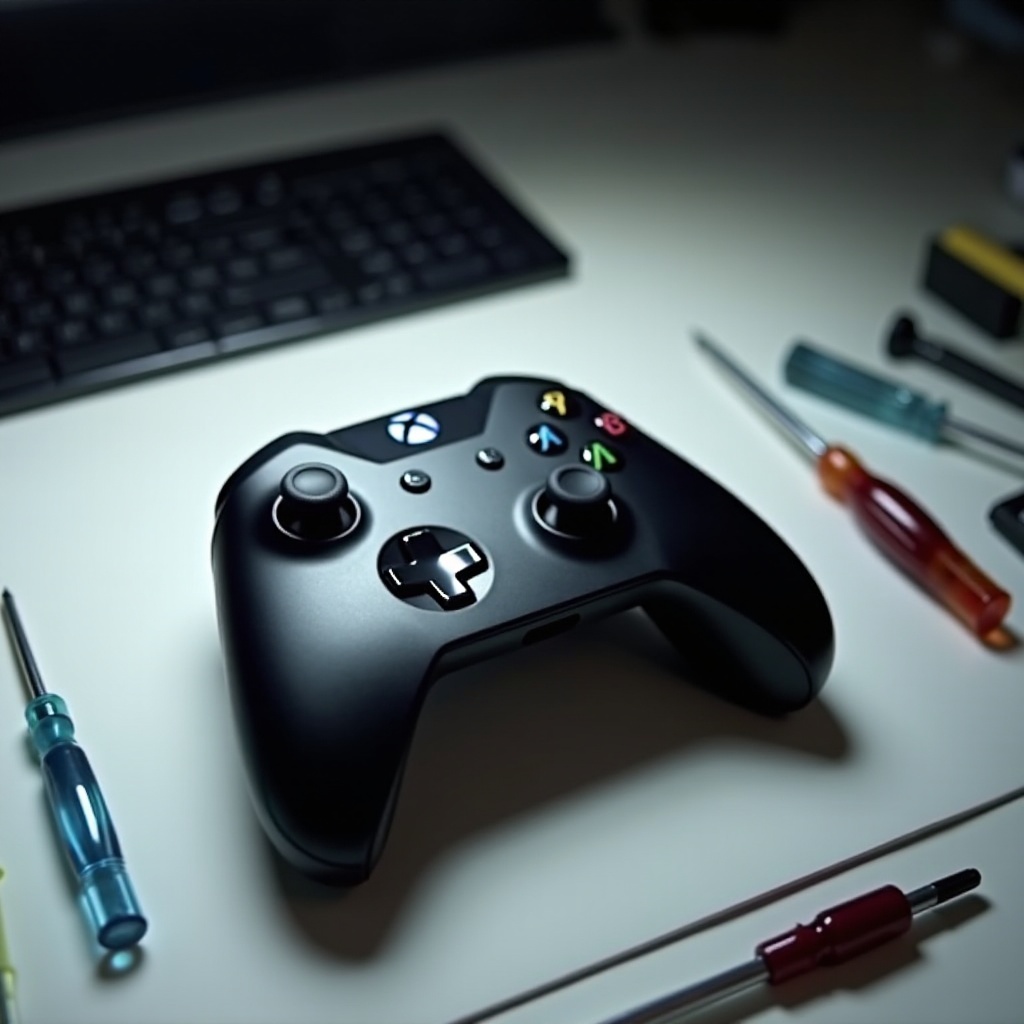
Before you begin disassembling, it’s vital to have the correct tools at your disposal and to prepare your workspace properly. This step is not just about efficiency but also about ensuring that you do not misplace or damage any small components during the process.
- Essential Tools Required
- TR8 Torx screwdriver
- Plastic prying tool
- Tweezers for delicate components
-
Soft cloth or mat to organize parts
-
Preparing Your Workspace
- Select a clean, well-lit work area to lay your controller and tools.
- Use a soft mat to prevent scratches or losses of small parts.
- Arrange your tools neatly and have a container ready to store screws.
With the necessary tools and workspace set up, you are ready to proceed to the disassembly of your Xbox One controller.
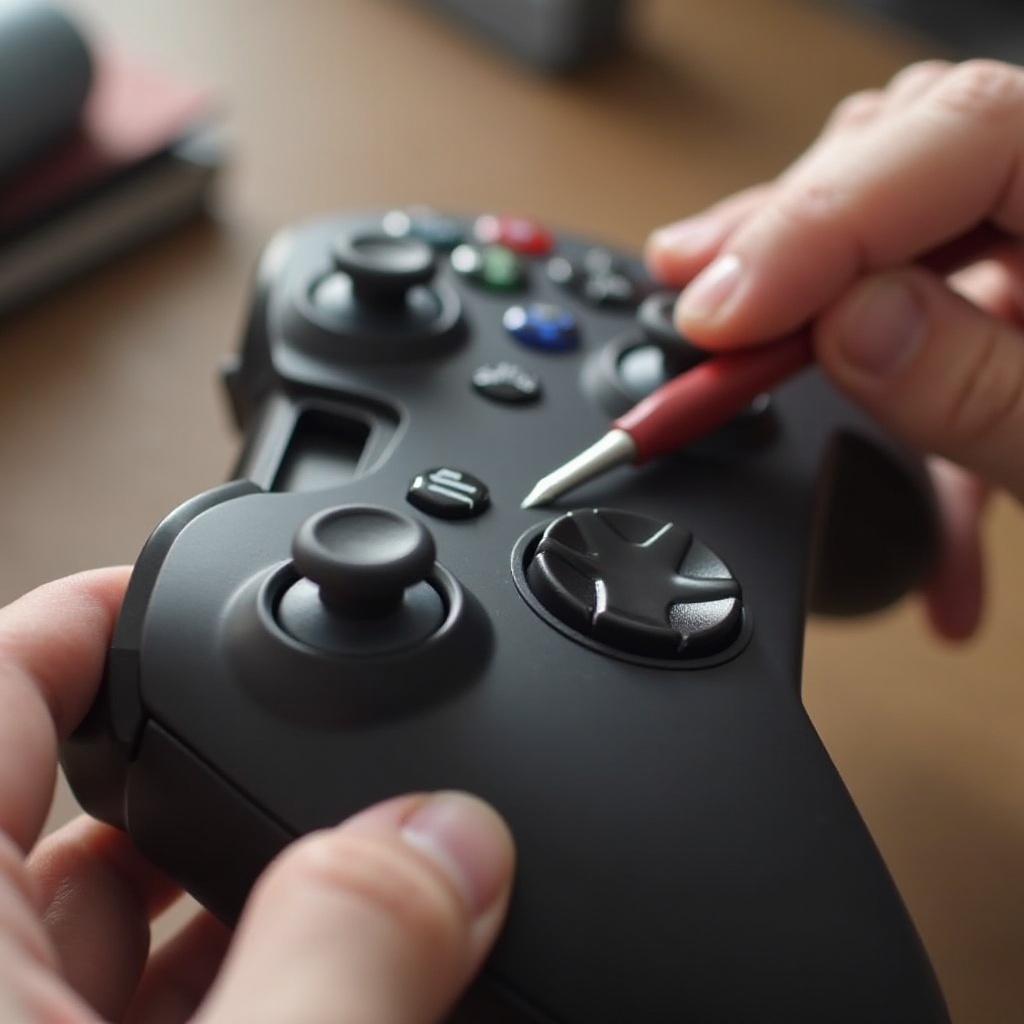
Step 1: Removing the Outer Shell
The outer shell provides the first level of protection to your controller’s internal workings. To gain access, careful handling during its removal is required.
- Detaching the Side Grips
-
Employ the plastic prying tool along the seam to loosen and remove the side grips slowly.
-
Unscrewing the Back Shell
- Locate the five screws, one hidden under the battery compartment.
-
Carefully remove them with the TR8 Torx screwdriver.
-
Organizing Screws and Components
As you remove screws, place them in a small container to avoid misplacing them. Organization at this stage is crucial for a seamless reassembly process.
Now that you’ve removed the outer shell, you have access to the internal components which require gentle handling as you proceed to the next step.
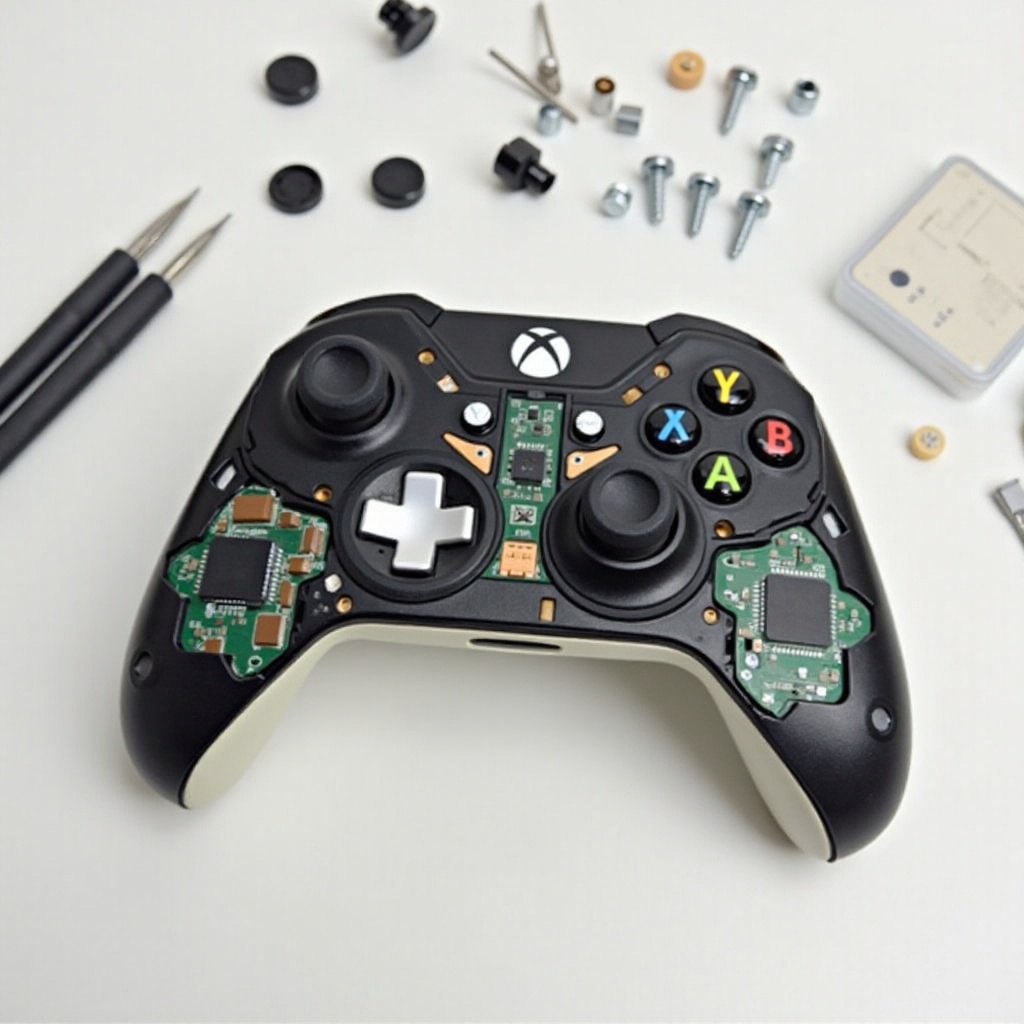
Step 2: Disassembling Internal Components
With the outer shell off, you can now disassemble the internal components of your controller. Each component requires careful removal to prevent any damage.
- Removing the Faceplate
-
Gently lift the faceplate from the controller’s framework without exerting too much pressure to avoid snapping it.
-
Detaching the Circuit Board
-
Remove any remaining screws securing the circuit board and carefully lift it out, making sure no cables or connectors are damaged.
-
Accessing the Bumper Buttons and Triggers
- Gently extract the bumper buttons and triggers, noting the positioning of springs for accurate reassembly.
With all internal components disassembled successfully, it’s time to clean or inspect for necessary repairs, ensuring your controller’s performance is optimized.
Cleaning or Repairing Your Controller
A thorough cleaning can extend your controller’s life and improve its performance. Repairing common issues during this phase ensures longevity and functionality.
- Effective Cleaning Techniques
-
Use a soft, dry cloth to lightly clean surfaces. If grime persists, a cloth dipped in isopropyl alcohol is a safe alternative.
-
Common Repair Tips
- Thumbstick drift can be repaired by replacing the thumbstick modules.
- For stiff buttons, ensure the areas around the buttons are clear of debris.
After a detailed cleaning and necessary repairs, it’s time to put your controller back together, ensuring all components fit correctly.
Step 3: Reassembling Your Controller
Reassembling is essentially the reverse of disassembly, although attention to detail will prevent future malfunctions or damage.
- Securing Internal Components
-
Place the circuit board back into its slot and replace any screws without overtightening.
-
Reattaching the Outer Shell
- Carefully align the faceplate and secure the back shell using your stored screws.
- Snap the side grips back into place.
Once reassembled, test your controller to ensure that everything operates smoothly. This process enhances both performance and longevity of your device.
Conclusion
Completing the disassembly and reassembly of your Xbox One controller empowers you to effectively manage and extend its lifespan. From cleaning to minor repairs, you have learned how to maintain your controller’s performance. Remember always to handle components with care, and don’t hesitate to consult a professional if you face challenges beyond your expertise.
Frequently Asked Questions
Can I use household tools to take apart my Xbox One controller?
It’s advisable to use specialized tools like a TR8 Torx screwdriver for safety and precision. Household tools might cause damage.
What should I do if I lose a screw during reassembly?
Search your workspace thoroughly. Replacements can be bought from online retailers or hardware stores. Make sure they match in size and thread.
Is it safe to clean the internal components of my controller with water?
It’s not recommended to use water. Instead, use isopropyl alcohol, which evaporates quickly and is safe for electronic components.