

 By
By Introduction
The MacBook Air stands out for its sleek design and performance, making it a favorite among users. However, encountering a ‘Camera Not Connected’ error can be frustrating, especially when you rely on the camera for video calls, work meetings, or virtual classes. Fortunately, this issue can be resolved through a series of effective troubleshooting steps. This guide will take you through these solutions, helping you restore the camera’s functionality on your MacBook Air.
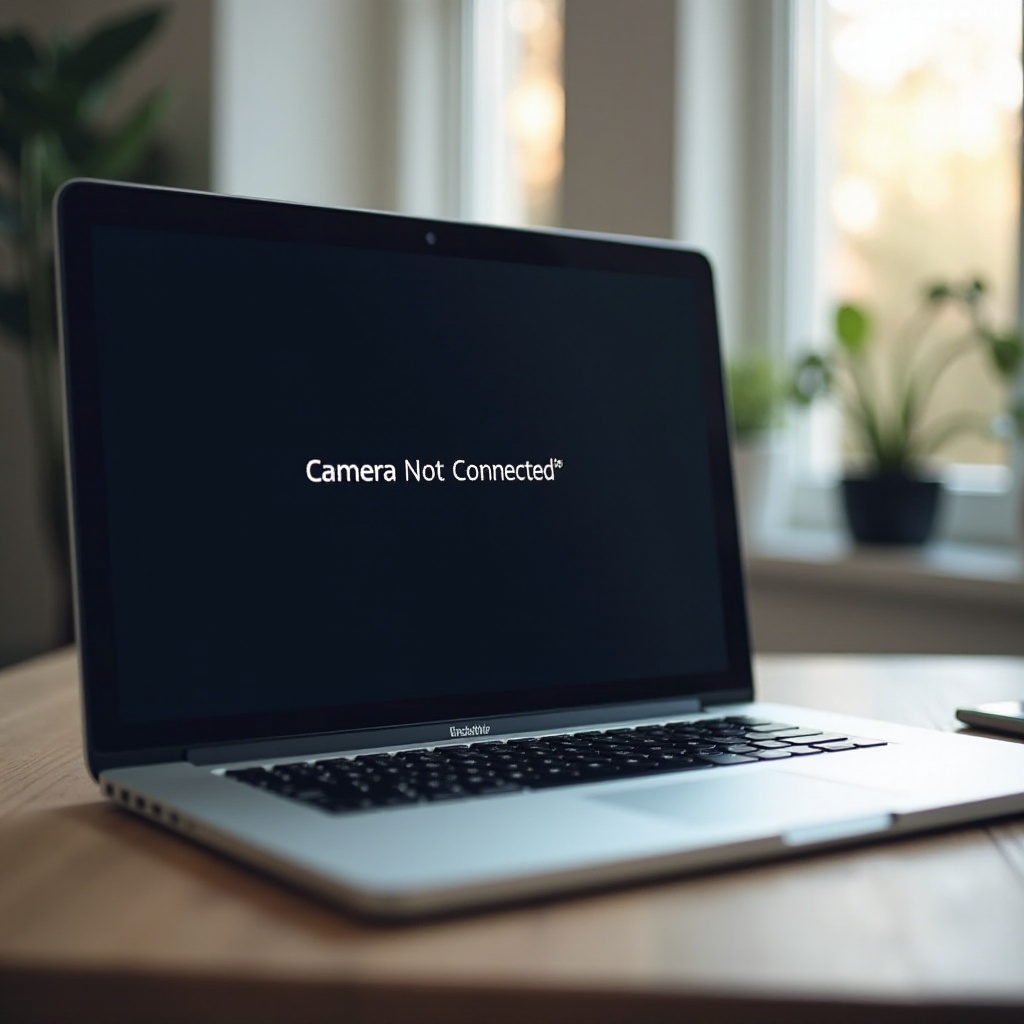
Understanding the ‘Camera Not Connected’ Error
The ‘Camera Not Connected’ error usually means that your MacBook Air cannot detect the built-in FaceTime HD camera. This can occur due to various reasons including software glitches, misconfigured settings, or hardware defects. Recognizing the cause is crucial for applying the right solution. By understanding the error, you can effectively address the malfunction and enhance your MacBook Air’s performance.
Quick Fixes for Camera Issues
Before delving into detailed solutions, start with these quick fixes. They are straightforward and often solve the issue:
- Restart Your MacBook Air: A simple restart can reset temporary glitches affecting the camera, providing a fresh start to all functions.
- Check App Permissions for Camera Access: Sometimes, applications require permission to use the camera. Navigate to ‘System Preferences’, select ‘Security & Privacy’, click on ‘Privacy’, and ensure the correct apps have camera access.
If these quick solutions do not resolve the issue, proceed to explore more in-depth software fixes.
Software Solutions to Resolve the Issue
When initial troubleshooting doesn’t yield results, software-related solutions can be explored:
- Update macOS to the Latest Version: Outdated systems might trigger compatibility issues. Open the ‘App Store’, and check the ‘Updates’ section to install the latest macOS. Keeping your software up to date can often resolve the issue.
- Reset the System Management Controller (SMC): SMC manages hardware functions and resetting it can solve camera problems. Shut down your MacBook Air, hold down Shift + Control + Option keys along with the power button for 10 seconds, then restart.
- Reset the NVRAM: NVRAM stores setting and a reset can help resolve the conflict. To reset, start your Mac while holding the Option + Command + P + R keys for about 20 seconds.
These software solutions generally resolve most camera issues. If they don’t, advanced diagnostics may be necessary.
Advanced Troubleshooting Techniques
When basic and software solutions fail, advanced troubleshooting might be needed:
- Use Terminal Commands to Assess Camera Functionality: Launch ‘Terminal’ from Applications > Utilities. Enter ‘sudo killall VDCAssistant’ and ‘sudo killall AppleCameraAssistant’. These commands quit camera-related processes that might be stuck.
- Boot in Safe Mode and Perform Diagnostic Tests: Safe Mode limits startup processes, isolating software-generated issues. Restart your MacBook Air and hold down the Shift key. Test your camera in Safe Mode to identify any third-party conflicts.
Advanced troubleshooting requires some technical know-how, but these solutions often resolve persistent issues. For unresolved problems, looking into hardware could be the next step.
Hardware Checks and Solutions
Software corrections solve many issues, but hardware integrity is equally important. Check for:
- Physical Camera Damage: Inspect your MacBook Air for visible damage near the camera. Hardware malfunctions might need professional repair.
- Consider External Camera Alternatives: Until you resolve internal issues, an external webcam via USB can serve as a temporary alternative.
Addressing hardware concerns can be complex, so we recommend contacting Apple Support if DIY fixes are insufficient.
Preventative Measures to Keep Your Camera Functional
Incorporating preventative measures ensures long-term camera functionality:
- Regular Software Updates: Keeping your macOS and applications updated avoids compatibility issues and software bugs.
- Avoid Physical Obstructions: Ensure the camera and surrounding area are free from dust or debris that might obstruct the lens.
Preventative habits not only maintain your camera’s performance but also enhance your MacBook Air’s overall reliability.
Conclusion
The ‘Camera Not Connected’ error on your MacBook Air is a fixable issue. Beginning with simple solutions such as restarting or checking permissions can often solve the problem. For more stubborn problems, software updates, and resets or advanced techniques like Terminal commands might be necessary. Adopting preventative measures will help maintain the smooth operation of your camera, ensuring you can rely on it whenever needed.
Frequently Asked Questions
Why does my MacBook Air say the camera is not connected?
This message often indicates a software glitch or incorrect settings, preventing the system from recognizing the camera.
How do I reset SMC on my MacBook Air?
To reset SMC, turn off your MacBook Air, then press and hold Shift + Control + Option and the power button for 10 seconds.
What should I do if none of these solutions work?
If the problem persists after trying all solutions, consider reaching out to Apple Support or an authorized service provider for further assistance.