

 By
Switching from an HDD to an SSD can dramatically speed up your computer. In this guide, you’ll learn how to transfer Windows to an SSD, enhancing your PC’s performance with minimal hassle. We’ll take you through each step to ensure a smooth transition that maximizes the benefits of SSD technology.
Understanding SSDs and Their Benefits
Before proceeding with the migration, it’s crucial to understand why SSDs offer significant advantages over traditional HDDs.
What is an SSD?
An SSD (Solid State Drive) is a type of storage device that uses flash memory to store data. Unlike HDDs, SSDs have no moving parts, leading to faster operations and greater durability.
Advantages Over HDDs
SSDs deliver quicker data access and shorter boot times by eliminating mechanical parts that slow HDDs. They’re also more resistant to physical shock and consume less power, making them ideal for more efficient and quieter computing.
Why Consider the Upgrade?
Migrating to an SSD offers faster application launches, smoother multitasking, and enhanced overall system responsiveness. This upgrade is particularly beneficial for users handling large files or running data-intensive applications.

Preparing Your System for Migration
To ensure a successful transition, proper preparation is essential. Here’s how to get your system ready to move Windows from an HDD to an SSD.
Check Compatibility with Your System
- Verify that your computer supports an SSD. Most modern PCs support SSDs, but checking compatibility is vital.
- Confirm the appropriate connection interface, such as SATA or NVMe, to match your motherboard’s support.
Backup Your Important Data
Back up your data to prevent any loss during the migration process:
– Use cloud storage services or external drives.
– Ensure that all important files, photos, and documents are secured.
Clean Up Your HDD: Free Up Space
SSDs can be costlier per gigabyte than HDDs, so it’s crucial to optimize space:
– Uninstall unused programs.
– Delete duplicate or unnecessary files.
– Consider temporarily moving large files, like videos, to an external drive.
Selecting the Right SSD
Choosing the right SSD is crucial to maximize your system’s performance benefits.
SSD Types and Compatibility
Different SSD types, like SATA, M.2, and NVMe, can impact your choice. Ensure the SSD type is compatible with your device to avoid installation issues.
Size and Capacity Considerations
Choose an SSD capacity that fits your storage needs, considering:
– Current usage versus future requirements.
– Larger SSDs often offer better performance and longevity.
Installing the right SSD ensures you gain the most from the upgrade, linking seamlessly with enhancing your system’s functionality.
Installing the SSD
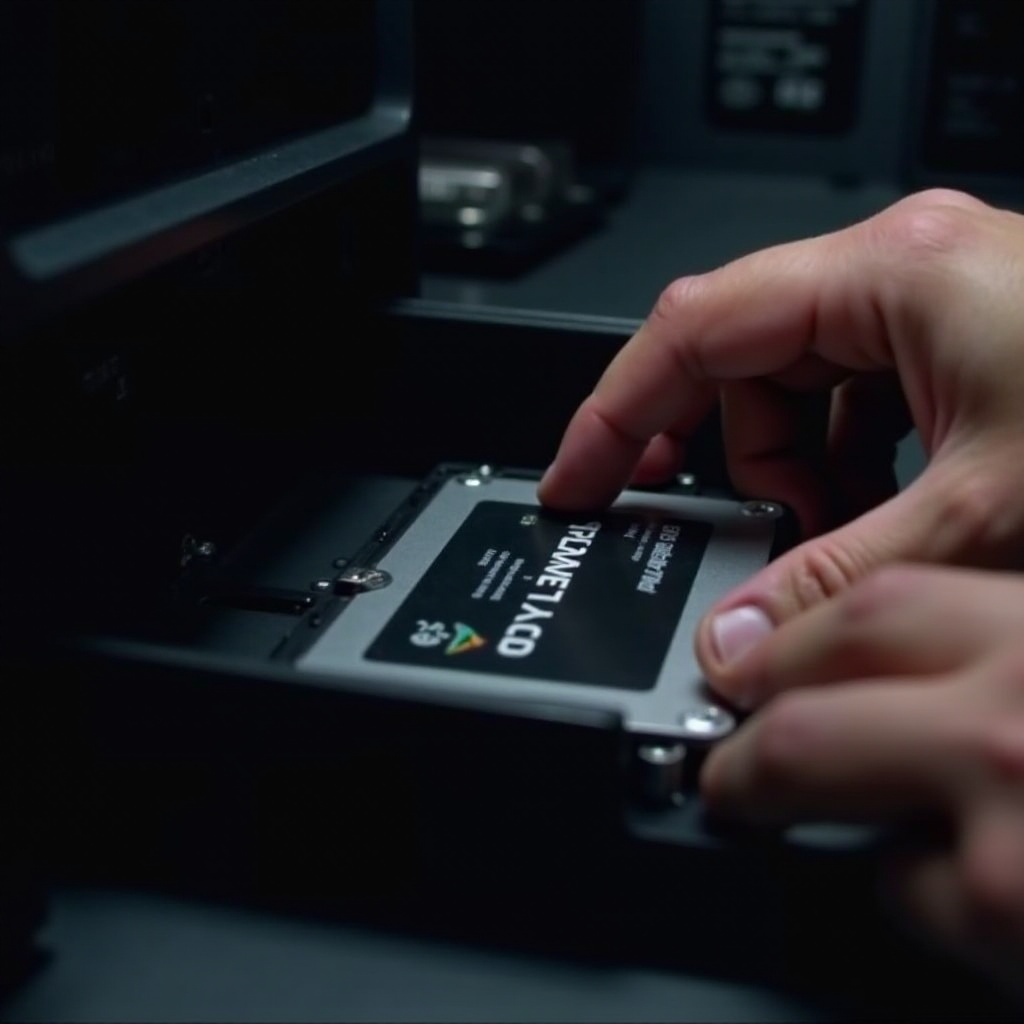
The physical installation of the SSD must be executed with care to prevent any component damage.
Physical Installation for Desktops
- Power down and unplug your computer.
- Open the case and find an available drive bay or slot.
- Secure the SSD and attach power and data cables.
Adding an SSD in Laptops
- Shut down your laptop and remove the battery for safety.
- Access the drive bay by unscrewing the correct panel.
- Fit the SSD into the bay securely.
- Ensure all connections are firm before closing the panel.
This careful installation links into the cloning procedure, ensuring all hardware is in place for transferring your OS.
Cloning Windows OS to Your SSD
Cloning Windows maintains your settings and applications after moving to an SSD.
Selecting Cloning Software
Choosing reliable software is essential for a smooth process. Popular tools include Macrium Reflect, EaseUS Todo Backup, and AOMEI Backupper.
Step-by-Step Cloning Process
- Install your chosen software and connect both the HDD and SSD to your computer.
- Launch the software and select the ‘clone’ or ‘migrate OS’ option.
- Follow instructions to choose the source (HDD) and target (SSD) drives.
Ensuring a Successful Migration
After cloning:
– Check the new SSD for Windows and data integrity.
– Test booting from the SSD by adjusting the boot order in BIOS.
With cloning complete, system functionality must be fine-tuned to get the best out of your new SSD.
Configuring Your System Post-Migration
After installation, configuration adjustments can enhance your new SSD’s effectiveness.
Change Boot Order in BIOS
- Restart your computer and enter the BIOS setup (usually by pressing Delete, F2, or F10 during boot).
- Go to the boot menu and set the SSD as the primary boot device.
Verify System and Application Functionality
Ensure applications and Windows operate smoothly. Adjust settings for SSD optimization, such as:
– Disable Windows defragmentation.
– Enable SSD-specific settings like TRIM for maintenance.
Proper configuration seamlessly ties up the installation and migration processes, readying your system for regular use.

Optimizing Your SSD for Longevity
Maintaining your SSD ensures longer life and persistent performance.
Enable TRIM
TRIM is crucial for sustaining SSD performance. It handles erased data efficiently, prolonging SSD life and performance.
Adjust Power Settings and Defragmentation
Set your power setting to high performance over energy saving. Disable Windows defragmentation for the SSD, as it can wear out your drive over time.
These optimization steps ensure you get the maximum benefit from your SSD, wrapping up the migration process with a robust, high-performing system.
Conclusion
An SSD upgrade is a wise choice to boost your system’s speed and efficiency. By following these comprehensive steps, you can ensure a smooth transition with minimal effort. Enjoy quicker load times, improved energy efficiency, and enhanced reliability with your new SSD.
Frequently Asked Questions
Can I move programs from my HDD to SSD?
Yes, although reinstalling them on the SSD ensures optimal functionality and integration.
What should I do with the old HDD after migration?
You can use the old HDD for additional storage, or as a dedicated backup drive.
How do I troubleshoot an unrecognized SSD post-installation?
Check physical connections, verify BIOS settings, and determine if the SSD is visible in disk management.